
What to do when microphone is disabled in Windows
This can happen on personal or oganisational PCs if certain privacy or anti-spying tools or administrator has modified system policies or registry keys.

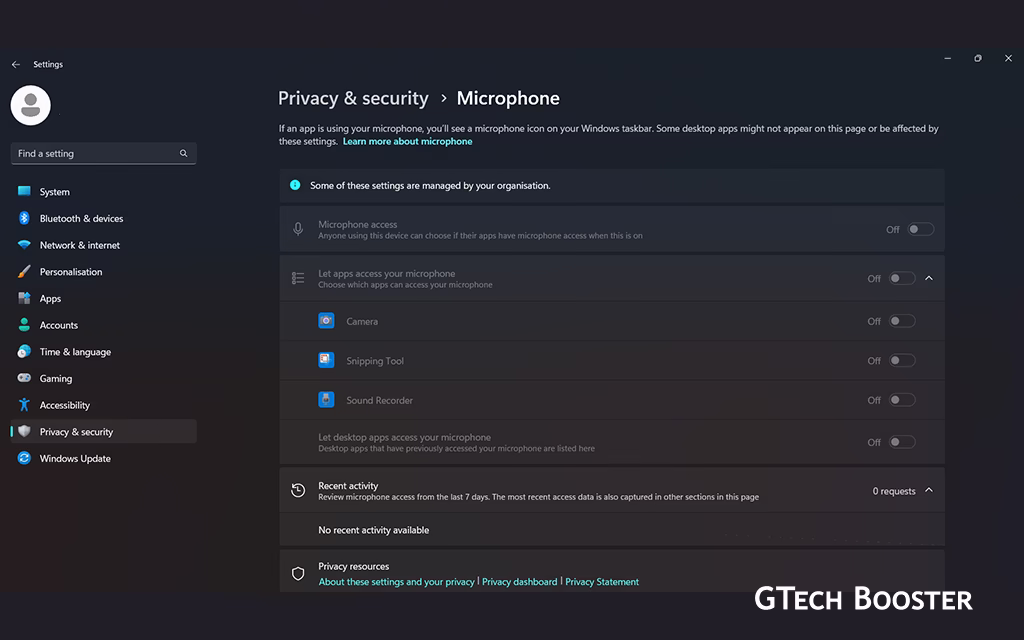
If your microphone is disabled with the message “managed by your organization,” it usually means a Group Policy or registry setting controlled by an administrator is preventing you from enabling it. This can happen on personal or oganisational PCs if certain privacy or anti-spying tools or administrator has modified system policies or registry keys.
Here are steps to resolve this issue
Check Registry Settings

The “managed by your organization” message often comes from Group Policy or registry keys that disable microphone access. You can try resetting these by editing the registry key:
[HKEY_LOCAL_MACHINE\SOFTWARE\Policies\Microsoft\Windows\AppPrivacy]Removing or modifying keys here related to microphone privacy may help. Be cautious and back up your registry before changes
Check Group Policy Settings
Press Windows + R, type gpedit.msc, and press Enter to launch the Local Group Policy Editor. Navigate to Microphone Privacy Settings. Go to:
Computer Configuration > Administrative Templates > Windows Components > App PrivacyHere you will find policies related to microphone access, such as “Let Windows apps access the microphone”
- Double-click on “Let Windows apps access the microphone“.
- Choose one of the following
- Disabled: Denies microphone access (similar to Force Deny).
- Not Configured: Default behavior, no enforced policy.
- Enabled: Allows you to specify microphone access behavior.
- Under Options, select
- Force Deny to block microphone access for all apps.
- Force Allow to permit microphone access for all apps.

Windows Server with Remote Desktop
If managing Windows Server with Remote Desktop, also configure:
Computer Configuration > Administrative Templates > Windows Components > Remote Desktop Services > Remote Desktop Session Host > Device and Resource Redirection- Enable “Allow audio recording redirection” to permit microphone use in remote sessions
- Apply and Update Policies by Click Apply and OK after setting your preferences.
- Run
gpupdate /forcein Command Prompt to immediately apply the new Group Policy settings.
Verify microphone access in Settings > Privacy > Microphone to ensure policies are effective. Use Device Manager to enable or disable microphone hardware if needed. For enterprise environments, these policies can be deployed via Active Directory Group Policy Management for centralized control. This approach allows IT administrators to centrally control microphone access on Windows 10, Windows 11, and Windows Server systems, ensuring compliance with organizational privacy or security requirements while enabling or restricting microphone use as needed.
More Information ℹ


Gabby


Be polite and constructive with your point.