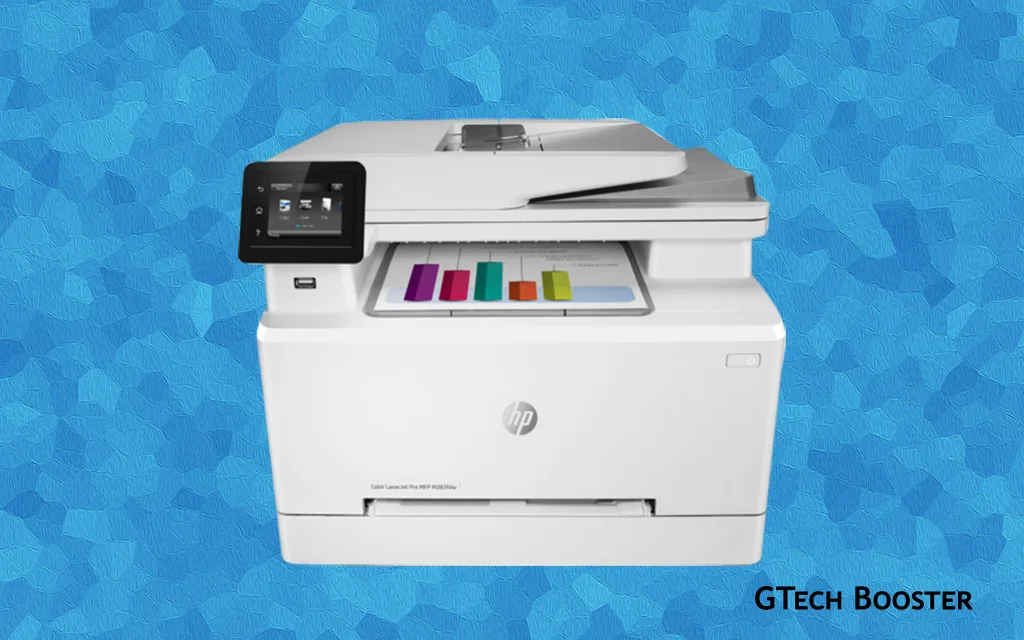
Full usage guide for HP Color LaserJet Pro MFP M283fdw Printer
The guide provides detailed information on setting up and using the printer, including: Printer hardware setup and software installation, Paper tray loading, Printer specifications, Supported operating systems, Mobile printing solutions, Environmental recommendations.
The HP Color LaserJet Pro MFP M283fdw user guide provides comprehensive information on setting up and using the printer. It covers various aspects such as printer setup, loading paper, printer specifications, solving problems, and obtaining software and firmware updates.

The guide also includes details on the printer’s technical specifications, supported operating systems, mobile printing solutions, and environmental recommendations.
Guide to help you get started
1. Installation and Setup
- Begin by unboxing the printer and removing all the packaging materials.
- Connect the power cord and turn on the printer.
- Follow the on-screen instructions to select your language, set the date and time, and configure the network settings.
- Install the necessary printer drivers and software on your computer or mobile device. You can download them from the official HP website.
2. Printing
- Load paper into the input tray. Adjust the paper guides to fit the paper size.
- Open the document or image you want to print on your computer or mobile device.
- Select the print option and choose the HP Color LaserJet Pro MFP M283fdw as the printer.
- Customize the print settings, such as paper size, orientation, and print quality.
- Click or tap on the “Print” button to start the printing process.
3. Copying
- Place the document you want to copy face-down on the scanner glass or face-up in the automatic document feeder (ADF).
- On the printer’s control panel, select the “Copy” function.
- Adjust the copy settings, such as the number of copies, paper size, and color options.
- Press the “Start” button to begin the copying process.
4. Scanning
- Open the scanner lid or lift the ADF cover.
- Place the document you want to scan on the scanner glass or load it into the ADF.
- On the printer’s control panel, select the “Scan” function.
- Choose the desired scan settings, such as scan type, resolution, and file format.
- Press the “Start” button to initiate the scanning process.
5. Faxing
- Connect a telephone line to the printer’s fax port.
- Load the document you want to fax into the ADF or place it on the scanner glass.
- On the printer’s control panel, select the “Fax” function.
- Enter the recipient’s fax number using the keypad.
- Customize the fax settings, such as resolution, contrast, and transmission speed.
- Press the “Start” button to send the fax.
6. Maintenance
- Regularly clean the scanner glass and ADF rollers to ensure optimal scan and copy quality.
- Replace toner cartridges when they are low or empty. The printer supports high-yield replacement cartridges for cost-effective printing.
- Perform firmware updates to keep your printer up to date with the latest features and improvements.
- Refer to the user manual for detailed instructions on maintenance tasks and troubleshooting tips.
Vidoe Guide
I hope this usage guide helps you make the most of your HP Color LaserJet Pro MFP M283fdw printer! If you have any further questions or need assistance with specific features, feel free to ask.
More Information ℹ


Gabby